Okay, so I know it's been a few days but the good news is the workshop remodel is well underway! I did get a couple of projects done before construction started and here's the first one.
I’m so excited to share my latest happy accident! A happy accident occurs when you start a
project without a plan and during the experimenting, an “accident” occurs that
turns out to be a new technique. One
more reason why this blog was a good idea…. when I stumble on a “happy
accident” I often don’t remember how I did it in order to do it again!
This story starts with a couple of “newish” bar stools. One I found at a thrift store with the
original sales tag still attached. A
week or so later, I found the same bar stool at a yard sale! Yeah, now I have a pair. I’m not very fond of “newish” and decide
there has to be a simple way for the average person to turn a generic bar stool
into one with a little character.
I find that I get the most pleasure working on a project
when I don’t have a plan and I force myself back to kindergarten when the
teacher gives you finger paints and a blank sheet of paper or some craft materials
and you just get to do whatever you want.
The sky’s the limit, the air is clear, and a happy accident is just
waiting to happen….
I know that I want these bar stools to have a little
character. I’ve decided that I want to
paint the legs but leave the natural wood on the seat. It will give the same feel as a bar stool
with a rush seat but a lot less expensive.
I like the combination of paint and wood. So, my first step will be to sand both
bar stools.
As I’m sanding, I decide to try and remove the seats to make
the job easier. I figure if I can take
it apart, I should be able to put it back together, right? Since I’m self-taught, I find that the best
way to learn how things are built is to take them apart. Another good reason for this blog, if I take
pictures as I deconstruct, I can remember how to put things back together!
After
removing a screw at each leg, I simply used a wooden mallet to pound the seat
off the legs. TIP: Use a block of wood between your project and
the mallet to avoid marring the project.
In this case, I was pounding on the underside of the chair so it wasn’t
a huge deal.
Now, I can sand the legs all the way to the ends. And I can sand the entire
bottom of the seat without the legs in my way.
Painting will be much easier, too.
So don’t be afraid to take something apart, especially if there are
screws instead of nails. It’s not
difficult and it will make life much easier.

Okay, so I have the bar stools sanded…. now what?
I have no idea!
And that’s okay.
I just need a little inspiration….
I’m going to wander here a bit… about
inspiration.
I’m a walker and I’m
fortunate to live in a beautiful area with rolling hills, oak trees and
vineyards.
I like to walk alone because
this is a very meditative time for me.
I
have plenty of time to just let my mind wander and think about projects I’m
working on or get inspired for future projects.
We enjoy an Indian summer here in California, which makes
fall a beautiful time of year. Mornings
have that crispness in the air but the sun is still bright and warm; leaves are
just thinking about changing but they are still green. However, it is October and although the
sunflowers are fading, pumpkins are being harvested. I feel a color pallet inspiration coming
on.

I’m drawn to the idea of a bright pumpkin orange but
seriously, who wants bright orange bar stools?
I’m usually one drawn to fall colors, but for some reason the weather just
hasn’t got me in the mood and I’m still feeling the summer and those fresh
ocean colors…and then there’s the driftwood wash I’ve been hooked on lately….
What to do! Time to experiment.
Since I’m planning to leave the seats natural wood, I decide
to do my final finish on the underside of one of the seats so that I know what
that color will look like before I start experimenting with color for the
legs. I want to try something different
than paste wax because I know that I may end up changing the legs more than
once and that’s a little more difficult to do with them waxed because you have
to remove all the wax or the paint won’t stick and I don’t really love to do
all that sanding.

I found this product (new to me) on one of my hardware store
field trips. I love cruising the aisles
just to see what’s out there and try things I’ve never tried before. I found this product by Minwax. It’s a wipe on stain and sealer meant to
mimic a hand-rubbed wax finish. Water
clean up and dries in an hour! Perfect for
this bar stool project. I’ve tried
wipe-on polyurethane before but never with a stain. The color I had purchased was Windsor
Oak. I found it unbelievably easy to
use. It comes in a squirt bottle so
there’s really no mess. If you can
polish furniture you can do this! I like
the color and know that if I want it a little darker, I can just wipe on
another coat in about an hour. While
that dries, it’s on to paint!

Here’s where the “happy accident” happens.
I take a Popsicle stick and start with the
orange.
I know myself well enough to
know that these bar stools are going to have several layers of paint before I’m
finished.
I like to start with the
brightest or boldest color first because that one will show up the least in the
end and a small dose is usually enough.
Typically, I would save the most neutral color for last but I’ve done several
driftwood pieces already. I’m always drawn to pretty colored furniture so
I decide to use the driftwood next and save the aqua for last.
I use a hair dryer that I keep in my shop to
dry the paint between colors.
The first
two I used very little paint because they are the undercoats anyway but then I
load on the paint for the final color.
As I’m drying the stick, the paint is so thick that the outer layer is
drying but there’s still wet aqua paint underneath.
My impatience gets the better of me and I
wipe the stick with my finger to see if it’s dry and smear the top layer of
aqua right off the under layer of aqua.
I LOVE IT!
It gives the most
amazing texture!
I sand off the edges to
reveal a little of the driftwood and orange.
Too easy!
I’m anxious to add my
final step but I’m thinking I love these colors.
I wipe on a quick coat of the Minwax and
think I’ve found a winner!
That was way
too easy.
I thought I’d be experimenting
my way through at least a few more Popsicles.

A stick is one thing, now let’s see how this translates to actual furniture. I know that I don’t have to do a good coat of
orange because it’s really just an accent underneath. I’m out of chip brushes but I still have the
last one I used. I saved it because I
only used it at the tips. (One day soon
I’ll have water in my shop and can actually clean it and reuse it; Yeah!) So I have a used, dried up, chip brush and
decide to just trim off the tip with scissors…no problem! It’s fine for this quick first layer. Yes, it is indeed orange…. don’t be afraid, I
know where we’re going.
For the driftwood layer, I had a roller and tray left over
from my last driftwood project.
TIP: If you wrap a roller or
brush in saran wrap or plastic bag, it will stay wet enough to use later. At least for a day, or so, depending on
temperature.
Okay, I really like this
driftwood color and part of me wants to stop here…but where’s the fun in that…
I want to try something new! I can
always go back to the driftwood after.
Next, I use a real brush and add a nice even coat of aqua
paying close attention as the paint is drying.
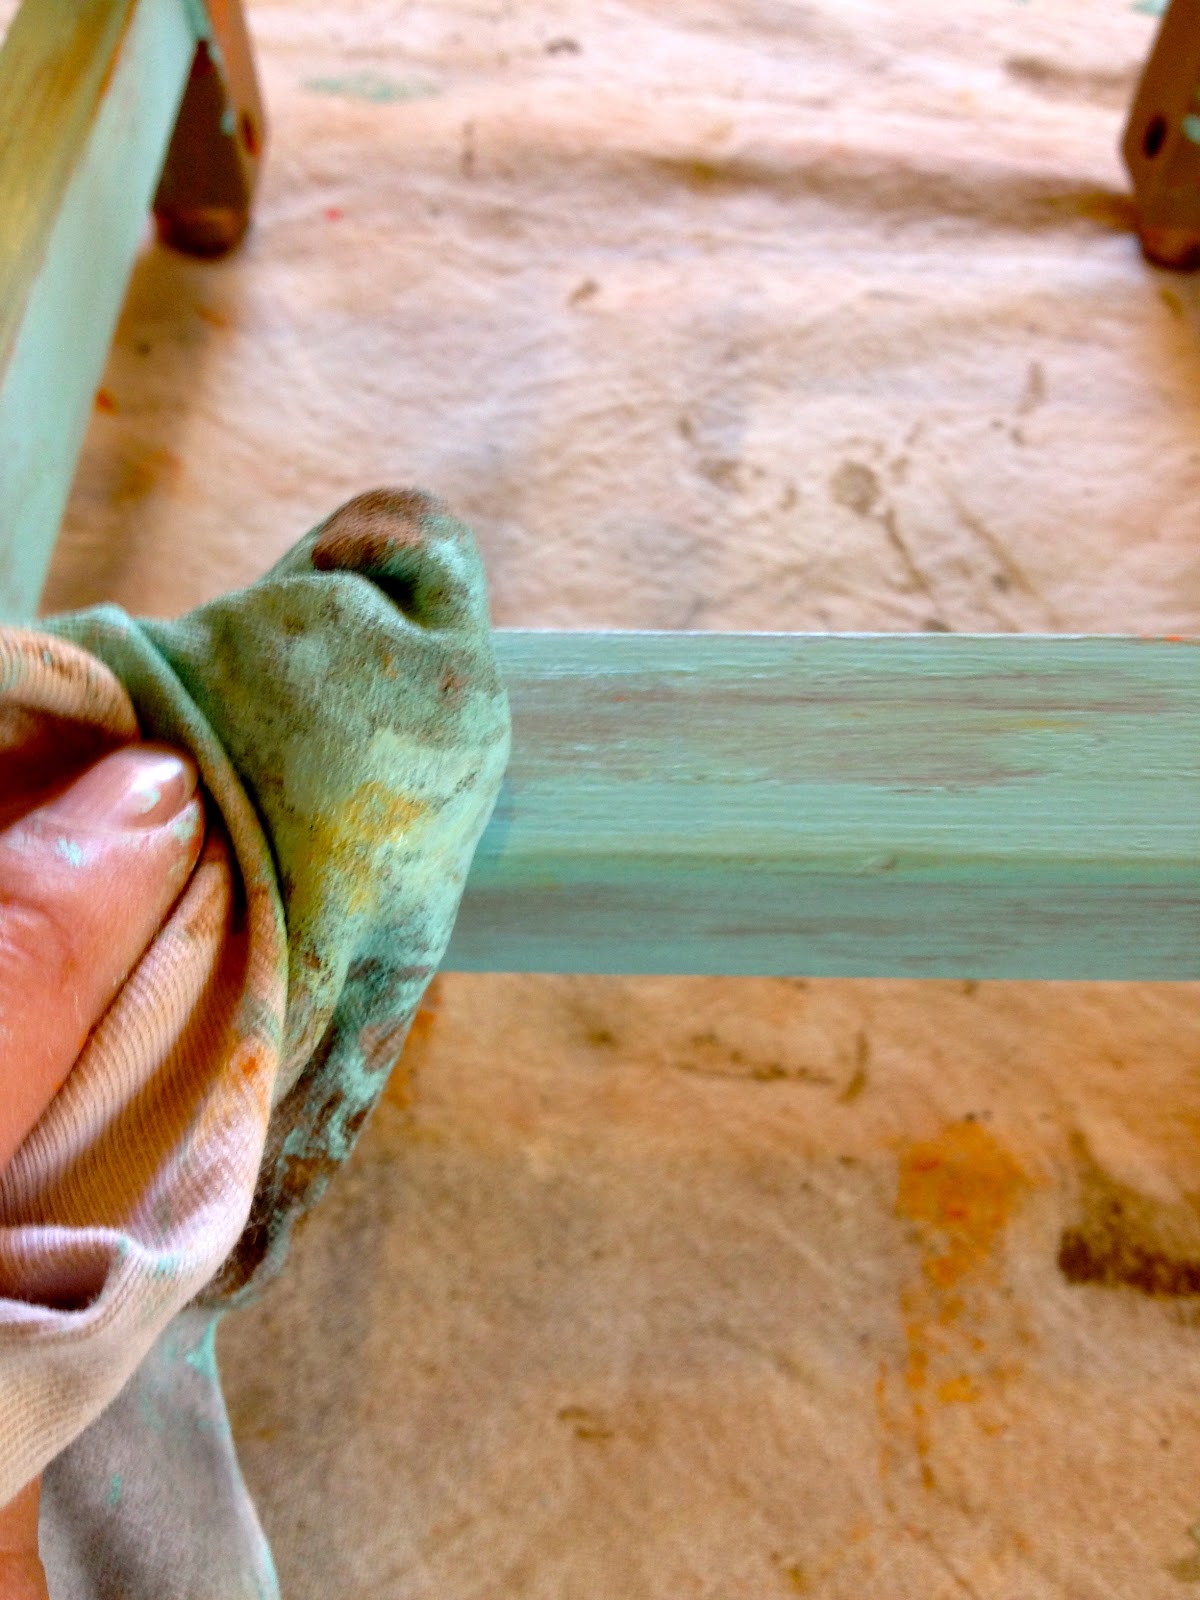
My goal is to catch the paint before it’s totally dry and just wipe it
with a rag to mess up the paint. This is
sort of like sanding back after the paint has dried but much faster. Sandpaper doesn’t really like paint so you
end up using a lot…. this new technique saves time and sandpaper! Okay, so I’m sure someone else has been doing
this technique forever but it’s new to me and I’m so happy I “accidentally”
stumbled onto it.

Once I have both bar stools to this point, I decide to go
over them both with a fine steel wool to smooth everything out.
I don’t really feel the need to sand but I
want them to be a little smoother to the touch.
This works out just fine.
A quick
cleaning with the Shop Vac and a wipe-down and I’m ready for my Minwax Wipe-on
Stain and Finish.
I used the squirt on/wipe off method for the seats but
decided it was easier to squirt a little in a recycled container and use a
sponge brush to apply the product to the legs so that I could get it right into
the corners then wipe with a rag.

Easy
breezy!
I loved this product and will
definitely use it again.
It’s finish,
while intending to mimic a hand rubbed paste wax, is not the same.
It is a great alternative for certain
projects like “things with seats”, but I’m sure I’ll still use paste wax for
the real deal on many projects.
As you’re choosing your stain and paint colors, take into
consideration the effect the stain color will have with your paint. For example, my stain had a definite yellow
undertone. When you mix yellow with blue
(or aqua) you get green. If I had used a
red mahogany or cherry, I would have a more mauve piece. A stain with a little black in it like a dark
walnut or Jacobean would most likely give me a grayer blue or blue/green.
So go out, get inspired, try new products, experiment with
color, and give your generic bar stools (or other project) a little
personality.
Or, you can purchase this
pretty pair at
Pomar Junction Vineyard and Winery.
$60 each.