 |
| Photo circa 2012 |
 |
| Photo circa 2007 |
The chair seemed to be missing some parts necessary to repair it to a safe condition. I thought of replacing the missing parts from another old chair but decided, instead, to make two projects out of the broken chair. The seat was still in perfect condition and I happen to have another old chair hanging around in my workshop (big surprise); all that was missing was a seat. The seat from Marsha's chair fit the other old chair perfectly but I felt like the dark brown chair with the patchwork seat looked a little too old fashioned rather than "vintage chic".

Here's a step by step of the finish I came up with:

Step 1: Sand the chair all over with a 150 or finer grit sandpaper. I use a palm sander where I can and then hand sand the tricky parts with a sponge sander. You don't have to sand it down to bare wood; this is a rustic finish so just sand enough for paint to stick.

Step 2: Make any necessary repairs to the chair. I sand the chair first because this process often reveals areas that need repair. In this case, the chair was just a little loose in the corners. I found that one of the corner screws had been replaced and wouldn't tighten enough so I switched it out for the appropriate type of bolt and it tightened up just fine.

Step 3: I mix a putty color paint and water it down considerably. The goal is to do a wash over the whole chair using a dry brush technique. Simply dip the brush in the paint and then blot the brush on a towel before applying it to the chair. The coverage will be very light but because the paint is watered down it will dry very fast.

 I've applied about three coats to get the even coverage I want. You can still see some of the dark stained wood underneath as well as areas that were sanded to bare wood.
 Note: You can decide this is enough paint and skip to the sanding and waxing step but I personally feel that the more layers you add to a paint finish like this the more depth you create which gives the finished product a richer look.
Step 4: At this point, I want to add some highlights so I grab a lighter cream color and mix a little in a separate container with my first watered down paint. I like to use disposable plastic bowls with lids so I can use the leftovers for another project.


Brush just a little of the highlight paint on here and there and then using a clean chip brush and a light hand, blend the highlight paint to soften the look.


The look is subtle and that's what you want.


Step 6: This is one of my favorite steps because it's where I get to see the chair's unique character start to come forward. Take a medium to fine grit sandpaper and hand sand off the edges and anywhere else you want to show wear and tear.
 Note: This is where you want to pay close attention to how evenly you sand. The reason being that in Step 7 we will be waxing which will show everything. The wax will take differently to paint that has been sanded versus paint that has not been sanded. When you sand paint, you give the paint a "tooth". This means the stain will be absorbed into the sanded areas making it look "dirtier". The wax will stain darker in any flaws or crevices, including those made by the sandpaper. Therefore, you want to pay close attention to where you sand. The good news is that if you don't like something after you've waxed, you can just sand areas a little more as needed and then re-wax those spots.
 Step 7: The final finish is a stained paste wax. I use Fiddes Supreme Wax (Rugger Brown is my favorite color). If you can't find Fiddes, it's very much like Briwax and their Dark Brown would be close to Rugger. Since you're working with stain, be sure to work in a well-ventilated area on a protected surface and wear gloves.
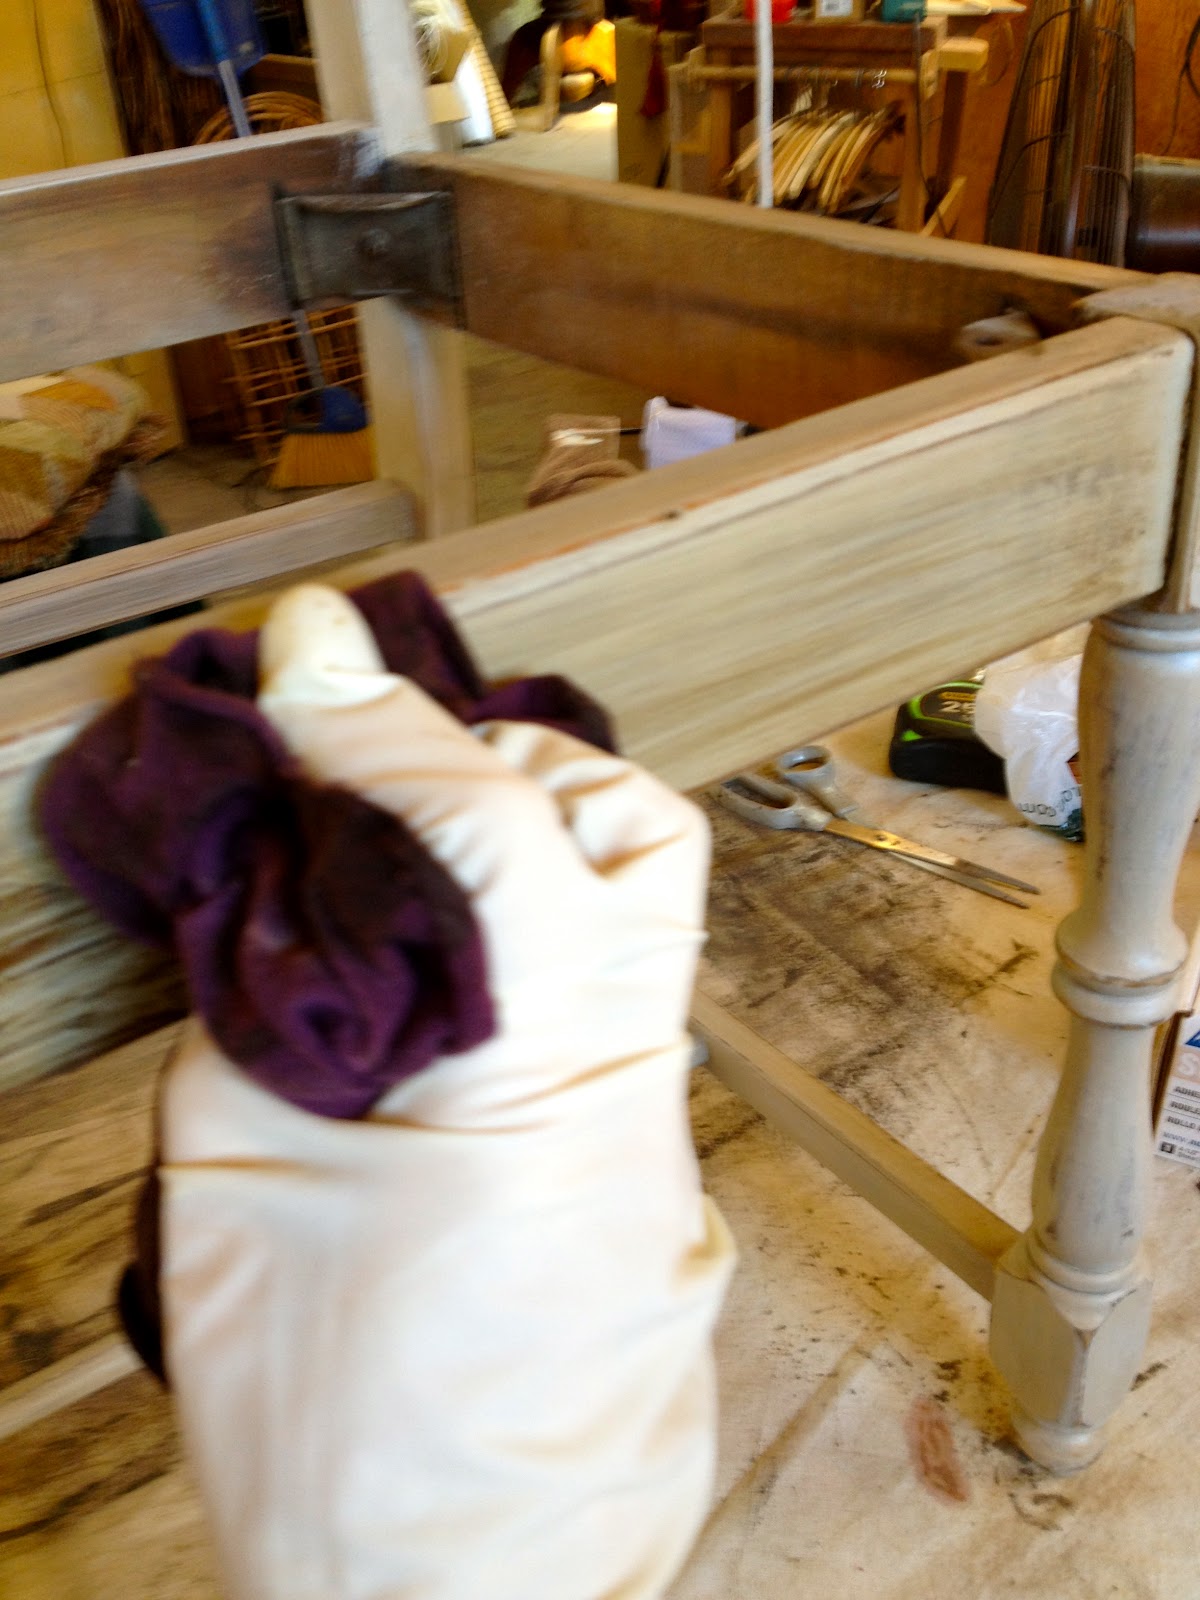
I find it best to work in small sections. Using a chip brush, apply a small amount of wax to one piece of the chair. Immediately, wipe all the excess wax away with a clean rag. It is important to remove all the excess wax at this point. If you are sloppy at this stage you will not get the result you are looking for. It's much more difficult to try to remove the excess wax after it has started to dry.

By the time you have finished waxing the whole chair, the wax should be dry enough to buff. It should not feel tacky at his point. If it does, you have not removed all the excess wax. That's probably the biggest mistake people make; applying too much wax and not removing it right away.
 Step 8: At this point, you want to buff the entire piece. I like to use a pine brush attached to my drill. I find using a corded power drill works better than a battery drill but both will work. I've added a handle attachment to my drill because I do this a lot and the handle helps carry the weight of the drill. If you don't want to use a brush, you can simply buff the whole piece with a clean cloth. I just find it's faster and less work to use the brush on a drill; especially for larger pieces.
Step 9: I always wipe the entire project with a clean cloth after buffing to make sure I have the finish I want. It should feel silky smooth. If it doesn't, keep buffing. This just means there was too much wax applied and not removed.

It isn't pink anymore, but Marsha's done some re-decorating in the last five years so I think this new finish will look great in her home....and who knows...it could show up in my workshop again some day....
....so, what happened to the pink chair, you ask? Well, that will be revealed in Chapter Two....stay tuned....and Happy Junkin'...
Check out more great projects from fellow junkers at ...
...
Check out more great projects from fellow junkers at
...
Great job at explaining all the details! Not to mention, the chair looks amazing!
ReplyDeleteGood work done!!!
ReplyDeleteThank you.
Delete